Micro NC kits offer a streamlined experience for enjoying concentrates, blending portability with functionality. This guide details assembly, ensuring optimal performance and user satisfaction.
These kits, like the Micro NC Nectar Collector Dab Rig Kit, typically include a water pipe, bubbler chamber, mouthpiece, and interchangeable tips for versatile dabbing.
Understanding each component and following these instructions will allow you to quickly and safely set up your Micro NC for a premium dabbing session.
What is a Micro NC Kit?
A Micro NC Kit, short for Nectar Collector Kit, represents a modern approach to consuming concentrates and oils. Unlike traditional dab rigs, it’s designed for direct application, offering a convenient and portable experience. These kits, as reviewed on platforms like YouTube and Facebook, are gaining popularity for their simplicity and efficiency.
Essentially, a Micro NC functions as a personal, miniature water pipe. The core principle involves heating the tip – typically titanium or quartz – and then gently “collecting” vapor from the concentrate source. The Micro NC Nectar Collector Dab Rig Kit from myxedup.com exemplifies this design, featuring a bubbler chamber for filtration and a removable straw mouthpiece.
This innovative style eliminates the need for a separate dab nail and carb cap, streamlining the entire process. It’s a self-contained unit, ideal for both beginners and experienced users seeking a discreet and efficient method of enjoying concentrates.
Kit Components Overview
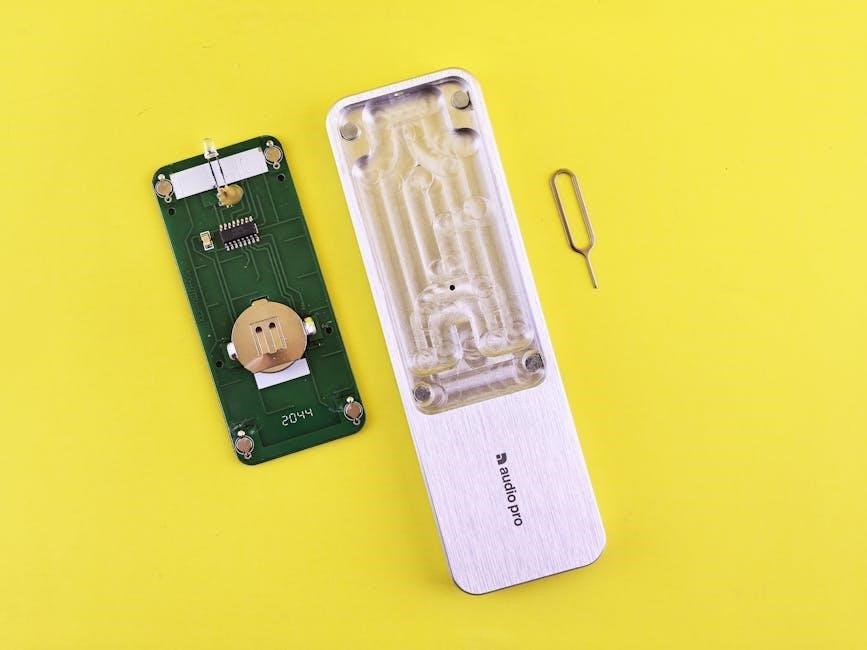
A standard Micro NC Kit, such as the one detailed on myxedup.com, comprises several key components. The primary element is the water pipe itself, featuring an innovative nectar collector style. Central to its function is the four-slit bubbler chamber, designed to diffuse and cool the vapor for a smoother hit.
You’ll also find a removable straw mouthpiece, allowing for comfortable and controlled inhalation; Crucially, kits include both a titanium tip and a quartz dab tip, offering versatility in heating and flavor profiles. These tips are interchangeable, catering to individual preferences.
Reviewers on Facebook highlight the kit’s completeness, noting it provides everything needed for immediate use. Understanding each part – from the glass body to the specialized tips – is vital for proper assembly and optimal performance.
Preparing for Assembly
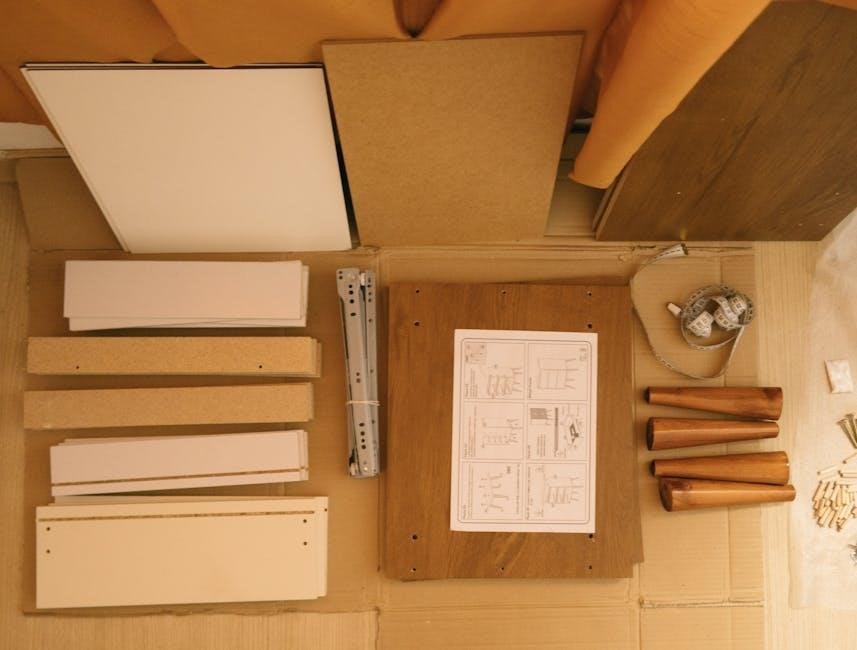
Before assembly, ensure all kit components are present and undamaged. A clean workspace and familiarization with the parts will streamline the process effectively.
Carefully unpack each piece, referencing the kit’s contents to verify completeness, preparing for a smooth and enjoyable setup experience.
Safety Precautions
Handling glass components requires utmost care to prevent breakage and potential injury. Always work on a soft, stable surface like a silicone mat or towel to cushion any accidental drops.
Concentrates are potent; handle them responsibly and store them securely, away from children and pets. Avoid direct skin contact with concentrates, and use appropriate tools for handling.
Heat management is crucial. The titanium and quartz tips become extremely hot during use. Allow them to cool completely before handling or cleaning to avoid burns.
Never heat the glass directly with an open flame, as this can cause it to shatter. Only heat the tips intended for dabbing. Ensure adequate ventilation during use.
Be mindful of water temperature; excessively hot water can create steam and cause burns. Always test the temperature before use. Prioritize safety for a positive experience.
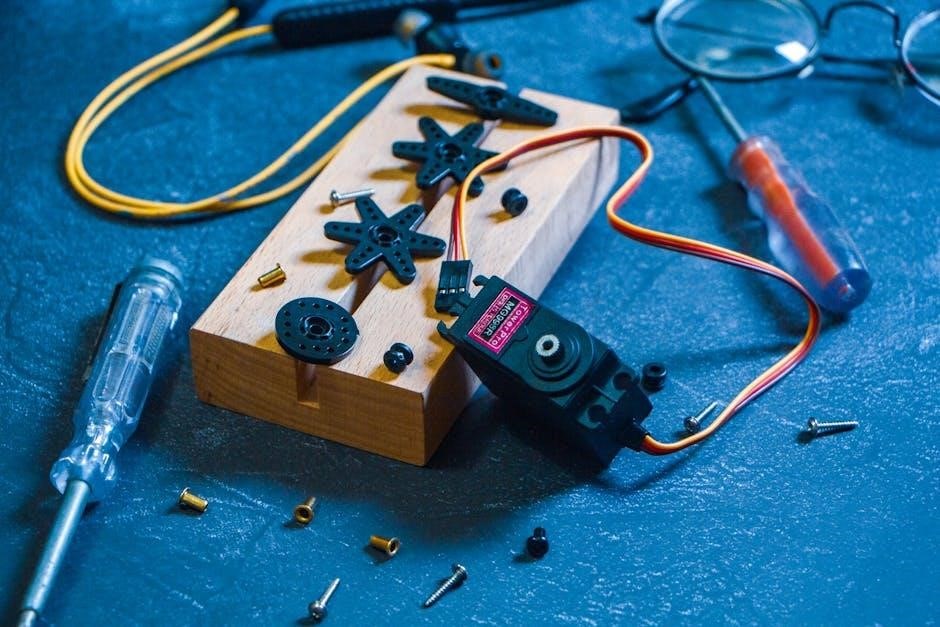
Tools Required
For a smooth assembly, gather a few essential tools. A clean, soft cloth is vital for handling glass components without leaving fingerprints or causing scratches.
Isopropyl alcohol (91% or higher) is crucial for cleaning and preparing the kit before initial use and for regular maintenance. Cotton swabs are ideal for precise cleaning of small parts.
Small pliers or tweezers can be helpful for manipulating the tips, especially during installation and removal. A dedicated dab tool is essential for handling concentrates safely and efficiently.
Gloves (optional) can protect your hands from residue and maintain cleanliness. A well-lit workspace ensures clear visibility during assembly and maintenance procedures.
A silicone mat provides a non-slip surface and protects your work area. These simple tools will ensure a hassle-free assembly and enjoyable experience.
Assembling the Water Pipe
Begin by carefully connecting the bubbler chamber to the main body of the water pipe, ensuring a secure and airtight seal for optimal filtration.
This innovative nectar collector style design, featuring a four-slit bubbler, provides a smooth and cool dabbing experience, enhancing concentrate flavors.
Proper assembly is key to enjoying the full benefits of your Micro NC, creating a satisfying and efficient dabbing session.
Attaching the Bubbler Chamber
The bubbler chamber is a crucial component of the Micro NC kit, responsible for diffusing and cooling the vapor for a smoother hit. Begin by gently aligning the bubbler chamber with the designated connection point on the main body of the water pipe.
Ensure a snug fit, applying even pressure to avoid cracking the glass. The four-slit design of the bubbler chamber maximizes surface area for efficient diffusion, contributing to a cooler and more flavorful experience.
Inspect the connection for any gaps or leaks; a secure seal is vital for optimal performance. A loose connection can result in reduced filtration and a harsher hit. Once securely attached, the bubbler chamber is ready to receive the straw mouthpiece, completing the water pipe assembly.
Connecting the Straw Mouthpiece
With the bubbler chamber securely in place, the next step is connecting the removable straw mouthpiece. Carefully align the mouthpiece with the opening on the bubbler chamber, ensuring a smooth and secure fit.
Gentle twisting motion may be required to fully seat the mouthpiece, creating an airtight seal. This connection is vital for directing the vapor flow and delivering a comfortable dabbing experience.
Verify the mouthpiece is firmly attached before proceeding, as a loose connection can lead to vapor leakage and reduced efficiency. The Micro NC design prioritizes ease of use, making this a straightforward process. Once connected, the water pipe assembly is complete and ready for tip installation.
Installing the Tips
Micro NC kits include both titanium and quartz dab tips, offering different heating and flavor profiles. Select your preferred tip and carefully screw it onto the straw mouthpiece.
Ensure a snug fit, but avoid over-tightening to prevent damage. These interchangeable tips enhance the versatility of your Micro NC experience.
Titanium Tip Installation
Titanium tips are known for their durability and rapid heating capabilities, making them a popular choice for experienced users. Begin by ensuring the titanium tip is clean and free of any debris. Carefully align the threaded end of the titanium tip with the corresponding threads on the straw mouthpiece of your Micro NC kit.
Gently screw the titanium tip onto the mouthpiece, applying even pressure. Avoid cross-threading, as this can damage the threads on either component. Tighten the tip until it is snug and secure, but do not overtighten, as excessive force could strip the threads or crack the glass. A properly installed titanium tip should not wobble or easily unscrew.
Before first use, it’s recommended to heat the titanium tip gently with a torch to remove any manufacturing residues. Allow the tip to cool completely before attaching it to the Micro NC and using it with concentrates.
Quartz Dab Tip Installation
Quartz dab tips offer a clean and flavorful dabbing experience due to their non-porous nature. Begin by inspecting the quartz tip for any cracks or imperfections. Align the threaded end of the quartz tip with the threads on the Micro NC straw mouthpiece, ensuring a proper fit.
Carefully screw the quartz tip onto the mouthpiece, applying gentle, even pressure. Avoid forcing the connection to prevent damage. Tighten until snug, but avoid overtightening, which could crack the delicate quartz glass. A secure attachment is crucial for safe operation.
Like titanium tips, it’s advisable to heat the quartz tip gently before initial use to eliminate any potential residues. Allow it to cool completely before use with concentrates, ensuring a pure and enjoyable dabbing session with your Micro NC kit.
Testing and Maintenance
Regular testing and cleaning are vital for optimal performance. Adjust water levels for smooth airflow and routinely clean all components to maintain flavor purity.
Consistent maintenance ensures your Micro NC delivers a consistently enjoyable and hygienic dabbing experience, extending its lifespan considerably.
Water Level Adjustment
Proper water level is crucial for effective filtration and a comfortable dabbing experience with your Micro NC. Too little water results in harsh, unfiltered vapor, while excessive water can impede airflow and potentially splash into the mouthpiece.
Begin by adding a small amount of water to the bubbler chamber, just enough to submerge the bottom portion of the downstem. Test the airflow by gently drawing through the mouthpiece; it should be smooth and consistent.
Gradually add more water, testing the airflow after each addition, until you achieve a balance between filtration and ease of draw. The ideal water level typically sits between the lowest and middle slits of the four-slit bubbler chamber.
Remember to avoid overfilling, as this can lead to water entering your mouth during use. Experiment to find the water level that best suits your personal preference and concentrate consistency.
Cleaning Procedures
Regular cleaning is essential for maintaining the performance and hygiene of your Micro NC. Residue buildup can affect flavor and airflow, diminishing your dabbing experience. After each use, or at least daily, disassemble the kit components.
Rinse the bubbler chamber and mouthpiece with warm water. For stubborn residue, utilize isopropyl alcohol (91% or higher) and a small brush. Gently scrub all surfaces, ensuring thorough cleaning of the four-slit bubbler chamber.
Soak the titanium or quartz tip in isopropyl alcohol for several minutes, then use a brush to remove any remaining concentrate. Rinse all parts thoroughly with warm water and allow them to air dry completely before reassembly.
Avoid abrasive cleaners, as they can damage the glass. Consistent cleaning will prolong the life of your Micro NC and ensure optimal functionality.
Troubleshooting Common Issues
Addressing issues like airflow problems or tip breakage ensures continued enjoyment of your Micro NC. Careful inspection and cleaning often resolve common concerns quickly.
Proper maintenance, as detailed in these instructions, minimizes potential problems and maximizes the lifespan of your kit’s components.
Airflow Problems
Reduced airflow during use can significantly impact the dabbing experience with your Micro NC. Several factors can contribute to this issue, requiring systematic troubleshooting. First, ensure the water level isn’t obstructing the airflow path within the bubbler chamber; adjust accordingly.
Secondly, inspect the connection points between the straw mouthpiece and the water pipe for any potential blockages or loose fittings. A secure connection is crucial for optimal airflow. Finally, examine the tip itself – residue buildup can restrict airflow. Thorough cleaning of the tip, using appropriate cleaning solutions, is often necessary.
If problems persist, verify that the four-slit bubbler chamber isn’t clogged with concentrate residue. Regular cleaning, as outlined in the maintenance section, will prevent such issues. Remember, consistent airflow is vital for smooth, flavorful dabs.
Tip Breakage
Tip breakage is a potential concern with Micro NC kits, particularly with quartz or titanium tips. Handle these components with extreme care, as they are inherently fragile. Avoid dropping the assembled unit or applying excessive force when dabbing.
Ensure the tip is securely attached to the straw mouthpiece before each use. A loose connection can create stress points, increasing the risk of breakage during operation. When heating the tip, avoid rapid temperature fluctuations, as this can cause thermal shock and cracking.
Regular inspection of the tip for any signs of damage, such as hairline fractures, is crucial. If damage is detected, immediately replace the tip to prevent further complications and ensure safe usage. Replacement tips are readily available.
Advanced Usage Tips
Optimizing temperatures and concentrate selection elevate the Micro NC experience. Experiment with heat settings and various concentrates for personalized flavor profiles.
Proper technique, combined with quality materials, unlocks the full potential of this portable and efficient dabbing solution.
Optimizing Dab Temperatures
Achieving the ideal temperature is crucial for maximizing flavor and vapor production with your Micro NC. Lower temperatures, around 450-550°F (232-288°C), preserve delicate terpenes, resulting in a more flavorful experience. However, this may yield smaller vapor clouds.
Higher temperatures, between 550-700°F (288-371°C), produce larger, more potent hits, but can degrade terpenes and potentially result in a harsher taste. Experimentation is key to finding your sweet spot.
Consider the consistency of your concentrate; waxes generally require lower temperatures than shatters. Pre-heating your titanium or quartz tip gradually ensures even heating and prevents scorching. Remember, patience and controlled heating are vital for optimal results with your Micro NC.
Concentrate Selection Guide
Micro NC kits are designed for use with oils and concentrates, offering versatility in your selection. Popular choices include shatters, waxes, crumbles, and budder, each possessing unique characteristics.
Shatters, known for their glass-like appearance, generally require slightly lower temperatures for optimal vaporization. Waxes, being more viscous, benefit from a bit more heat. Crumbles and budder offer a balance, working well across a broader temperature range.
Consider the potency and terpene profile of each concentrate. Experimenting with different types will help you discover your preferences and unlock the full potential of your Micro NC experience.
Resources and Support
Online communities, like the WTP420 Facebook group, offer valuable support and shared experiences. Manufacturer contact information is crucial for specific kit inquiries.
YouTube channels, such as the one linked, provide visual guides and reviews to enhance your Micro NC assembly and usage knowledge.
Online Communities
Engaging with online communities dedicated to concentrates and nectar collectors is an invaluable resource during and after your Micro NC kit assembly. Platforms like Facebook host groups, such as WTP420, where enthusiasts share tips, troubleshooting advice, and modifications.
These groups provide a space to ask questions, view user-submitted photos of assembled kits, and learn from the collective experience of others. You can find solutions to common issues, discover optimal dabbing techniques, and stay updated on new accessories or best practices.
Active participation allows you to contribute your own knowledge and help fellow users, fostering a collaborative learning environment. Remember to search existing posts before asking questions, as your issue may have already been addressed. These communities are a fantastic supplement to the manufacturer’s instructions.
Manufacturer Contact Information
Directly contacting the manufacturer is crucial for resolving complex issues or obtaining specific guidance regarding your Micro NC kit assembly. While online communities offer valuable peer support, the manufacturer possesses definitive expertise on their product.
For the Micro NC Nectar Collector Dab Rig Kit, information regarding contact details can often be found on the retailer’s website, such as Myxedup.com, or through packaging inserts. Look for email addresses, phone numbers, or links to dedicated support pages.
When reaching out, have your order number and a detailed description of the problem ready. Clear communication ensures a swift and effective resolution. Retain all correspondence for future reference, and always prioritize official support channels for accurate information.