Gel Nail Instructions: A Comprehensive Guide
Gel manicures offer a durable, chip-resistant finish, becoming increasingly popular for at-home use. This guide details achieving salon-quality results, saving both time and money.
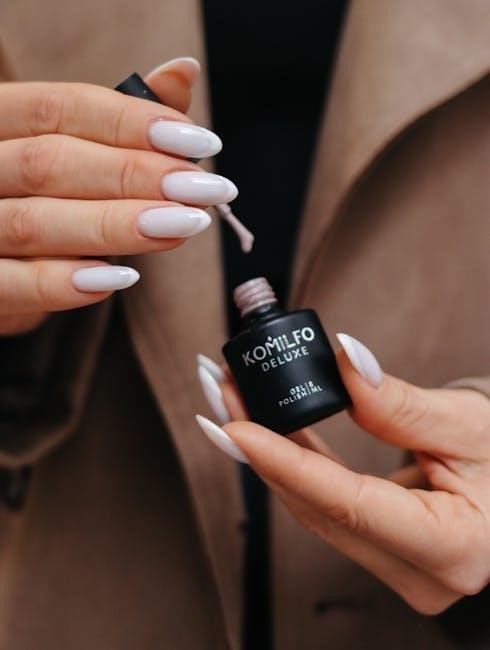
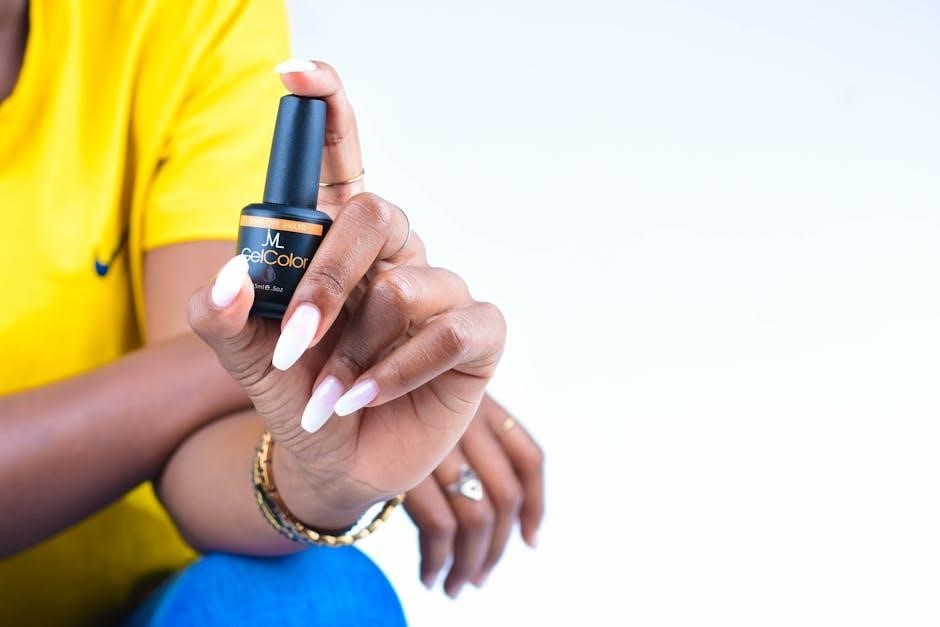
Investing in a gel nail kit is an easy way to elevate your at-home manicure, offering a long-lasting and professional finish for all skill levels.
Proper application and curing are key to longevity, with techniques evolving to minimize chipping and maximize adhesion, even around the nail edges.
Gel nails have revolutionized the manicure world, offering a significant upgrade from traditional polish. Unlike conventional nail lacquer, gel polish provides a durable, chip-resistant finish that can last for weeks, maintaining a glossy appearance throughout. This longevity is a primary reason for their widespread appeal, attracting both salon-goers and those who prefer DIY beauty routines.
The rise in popularity has led to a surge in at-home gel manicure kits, making professional-quality results accessible to everyone. No longer limited to salon visits, individuals can now achieve stunning, long-lasting manicures in the comfort of their own homes, saving both time and money. The process, while requiring a bit of initial investment in equipment like a UV or LED lamp, is surprisingly straightforward.
However, successful gel application isn’t simply about applying the polish; it’s about understanding the nuances of nail preparation, proper application techniques, and the importance of thorough curing. This guide will delve into each step, providing a comprehensive overview to ensure a flawless and long-lasting gel manicure. From prepping the nail plate to achieving a perfect finish, we’ll cover everything you need to know to master the art of gel nails.
What is Gel Polish?
Gel polish is a unique type of nail polish that combines the ease of application of traditional polish with the durability of acrylics. It’s a gel-based formula cured under ultraviolet (UV) or light-emitting diode (LED) light, creating a hardened, long-lasting finish. Unlike regular polish, which air-dries, gel polish undergoes a chemical process when exposed to the specific wavelengths emitted by the lamp.
This curing process results in a significantly more durable coating, resistant to chipping and peeling, typically lasting two to three weeks without significant wear. The formulation consists of polymers and monomers that link together during curing, forming a robust plastic layer on the nail. Different types of gel polish exist, including soft gels and hard gels, each offering varying degrees of flexibility and strength.
Soft gels, commonly used for manicures, are more pliable and easier to remove, while hard gels are often used for enhancements like sculpted nails. The key difference lies in their composition and the level of cross-linking achieved during the curing process. Understanding these distinctions is crucial for selecting the right gel polish for your desired outcome and nail health.
Benefits of Gel Manicures
Gel manicures offer a multitude of advantages over traditional nail polish, making them a popular choice for those seeking long-lasting, beautiful nails. The most significant benefit is their exceptional durability; gel polish resists chipping and peeling for up to two weeks, or even longer with proper application and care. This eliminates the need for frequent touch-ups, saving time and maintaining a consistently polished look.
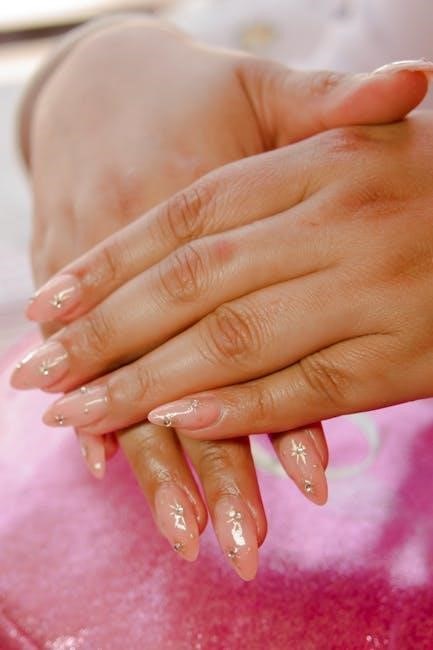
Beyond longevity, gel polish provides a high-gloss, vibrant finish that remains brilliant throughout its wear time. The cured gel creates a protective layer, strengthening the natural nail and preventing breakage. Furthermore, gel manicures offer a quick-drying experience – curing under a UV/LED lamp takes only a few minutes, unlike the lengthy drying time associated with regular polish;
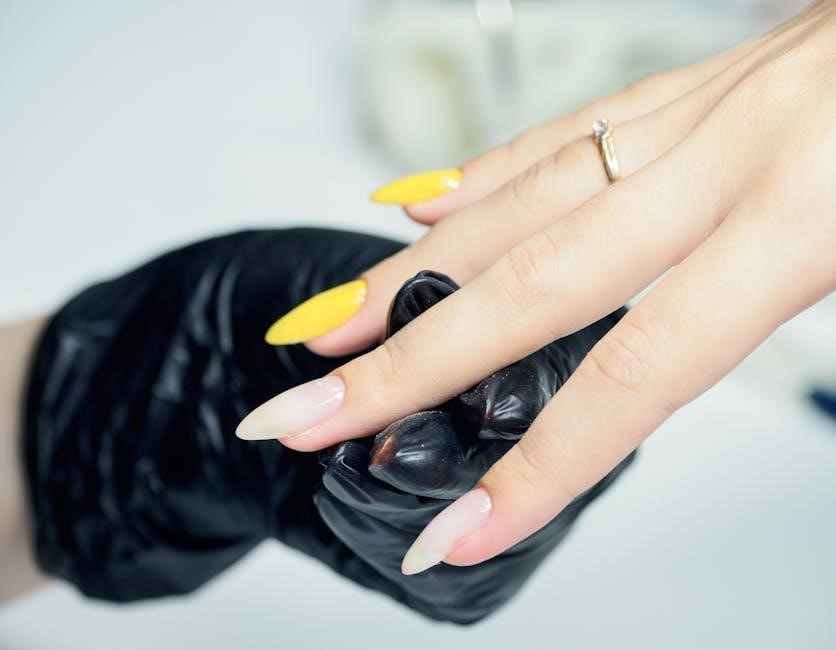
For individuals prone to nail weakness or damage, gel polish can provide a supportive barrier, promoting nail growth and health. The versatility of gel polish also allows for a wide range of designs and artistic expressions, from simple solid colors to intricate nail art creations.
Preparing Your Nails for Gel Polish
Proper nail preparation is crucial for gel polish adhesion and longevity. This involves gently pushing back cuticles, buffing the nail surface, and thoroughly dehydrating the nail plate.
These steps create an ideal base, ensuring a chip-resistant manicure that lasts, maximizing the benefits of the gel polish application.
Proper Nail Preparation is Key
Achieving a flawless and long-lasting gel manicure begins with meticulous nail preparation. This foundational step is often underestimated, yet it dramatically impacts the final result and prevents premature chipping or lifting. Think of it as priming a canvas before painting – a smooth, clean surface is essential for optimal adhesion.
Start by removing any existing polish completely. Then, gently file your nails to your desired shape, ensuring a smooth edge. Avoid harsh filing, as this can weaken the nail. Next, gently push back your cuticles using a cuticle pusher – do not cut them, as this can lead to infection. Removing the cuticle can also cause lifting.
The nail plate itself needs to be lightly buffed. This isn’t about removing layers of the nail, but rather creating a slightly textured surface for the gel polish to grip onto. Use a fine-grit buffer and apply gentle pressure. Finally, and critically, dehydrate the nail plate. This removes oils and residue that can interfere with adhesion. Use a nail dehydrator or isopropyl alcohol to cleanse each nail thoroughly before proceeding to the base coat.
Skipping any of these steps can compromise the manicure’s durability, so dedicate the necessary time to ensure a perfect base.
Pushing Back Cuticles
Gently pushing back your cuticles is a crucial step in gel manicure preparation, creating a clean canvas for polish application and promoting a longer-lasting result. This process isn’t about aggressively removing the cuticle, but rather carefully repositioning it to reveal more of the nail plate.
Begin by softening the cuticles with a cuticle remover or warm water. This makes them more pliable and easier to manipulate. Using a cuticle pusher – metal or wooden – gently push back the cuticle towards the base of the nail. Avoid applying excessive force, which can damage the nail matrix and cause discomfort.
It’s vital to avoid cutting the cuticles unless you are a trained professional. Cutting increases the risk of infection and can actually stimulate faster cuticle growth, leading to a cycle of cutting. Instead, focus on gently pushing them back and removing any dead skin that has already lifted from the nail plate.
A clean cuticle line ensures the gel polish adheres directly to the nail, minimizing lifting and extending the life of your manicure. Proper cuticle care is a cornerstone of a professional-looking finish.
Buffing the Nail Surface
Buffing the nail surface is a critical step in gel manicure preparation, enhancing adhesion and ensuring a smooth, even application of gel polish. This process gently removes the shine from the nail plate, creating microscopic texture for the gel to grip onto.
Use a fine-grit buffer – typically 180-240 grit – and buff in one direction, avoiding back-and-forth motions. This prevents creating grooves that can lead to chipping. The goal isn’t to thin the nail, but to simply remove the natural shine. Focus on the entire nail surface, ensuring consistent texture.
Over-buffing can weaken the nail, making it brittle and prone to damage. Therefore, a light touch is essential. You should aim for a slightly dull finish, not a completely matte one. Inspect the nail surface to ensure there are no visible scratches or uneven areas.
A properly buffed nail surface provides the ideal foundation for gel polish, maximizing longevity and minimizing the risk of lifting or chipping. This step significantly contributes to a professional-quality manicure.
Dehydrating the Nail Plate
Dehydrating the nail plate is a crucial, often overlooked step in gel manicure preparation, significantly impacting the longevity of your polish. Natural nails contain oils and moisture that can interfere with gel adhesion, leading to lifting and chipping.
A nail dehydrator, typically containing alcohol, removes these surface oils and moisture, creating a clean and dry canvas for the gel polish. Apply the dehydrator generously to the entire nail plate, ensuring complete coverage. Avoid getting it on the skin, as it can cause dryness.
Allow the dehydrator to air dry completely before proceeding to the next step. This is vital, as any remaining moisture will compromise the adhesion. Some professionals also recommend using a nail primer after dehydration, further enhancing bonding.
Proper dehydration ensures the gel polish adheres directly to the nail plate, minimizing the risk of lifting, especially around the edges. This step is particularly important for those with naturally oily nail beds, contributing to a flawless, long-lasting manicure.
Applying Gel Polish: Step-by-Step
Achieving a professional gel manicure at home involves precise application of base coat, color layers, and a final top coat. Each layer requires careful attention for optimal results.
Thin, even coats are essential, avoiding the cuticle and side walls to prevent lifting and ensure a smooth, durable finish.
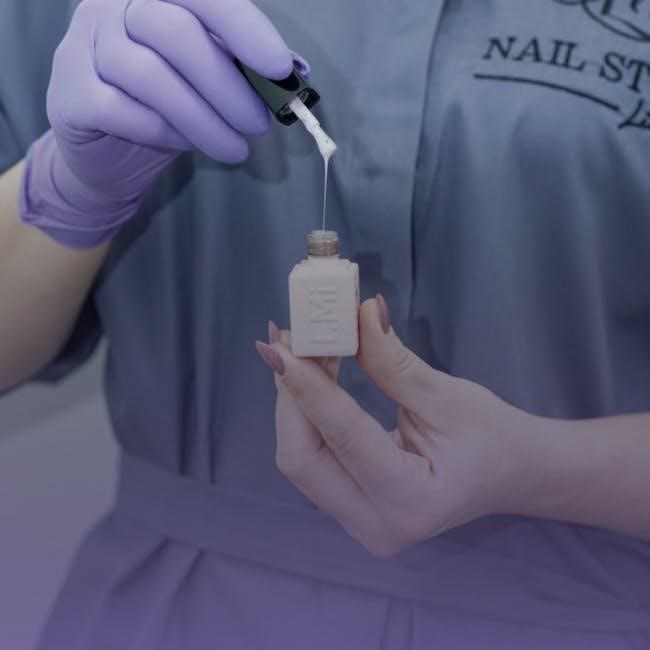
Base Coat Application
The base coat is a foundational step in a gel manicure, crucial for adhesion and protecting your natural nail. Begin by applying a very thin, even layer, ensuring complete coverage without flooding the cuticle or touching the surrounding skin. A common mistake is applying too much product, which can lead to bubbling or lifting.
Focus on creating a smooth surface; the base coat acts as a primer, helping the gel polish grip the nail plate. Cap the free edge of the nail – meaning brush the base coat along the very tip – to seal it and prevent chipping. This is particularly important for those prone to breakage.
Proper curing of the base coat is vital. Follow the manufacturer’s instructions for your UV or LED lamp, typically around 30-60 seconds for LED and 2 minutes for UV. An under-cured base coat will result in poor adhesion, while over-curing can make the polish brittle. After curing, you may notice a slightly tacky layer; this is normal and indicates the base coat is properly prepared for the next step.
Remember, the base coat isn’t just about adhesion; it also shields your nails from potential staining caused by pigmented gel polishes. A quality base coat will contribute significantly to the overall longevity and health of your manicure.
Applying the First Layer of Color
The first layer of gel color should be thin and sheer, acting as a base for subsequent coats. Resist the urge to apply a thick layer, as this can lead to wrinkling, bubbling, and improper curing. Think of it as building a foundation – a solid, even base is essential for a flawless finish.
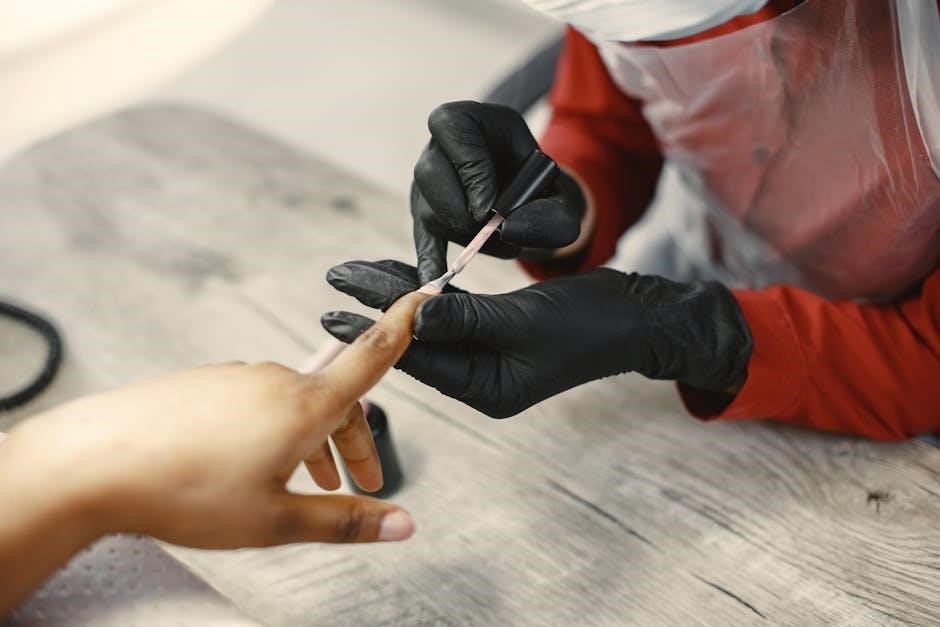
Apply the polish using smooth, controlled strokes, starting from the cuticle and moving towards the free edge. Again, cap the free edge to seal the color and prevent chipping. Avoid flooding the cuticles; maintaining a small gap will prevent lifting. If polish gets on the skin, clean it up before curing with a small brush or orange wood stick.
Curing times will vary depending on your lamp and the polish brand, but generally, 30-60 seconds under an LED lamp or 2 minutes under a UV lamp is sufficient. This initial layer may appear streaky or uneven, and that’s perfectly normal. The purpose is to establish a consistent color base.
Patience is key at this stage. A well-applied first layer sets the stage for a vibrant, long-lasting manicure. Don’t rush the process; focus on even distribution and proper curing for optimal results.
Applying the Second Layer of Color
The second coat of gel polish builds opacity and evens out the color. This layer can be applied slightly thicker than the first, but still avoid excessive buildup. The goal is full, consistent color coverage without compromising the polish’s integrity.
Repeat the application technique from the first layer – smooth, controlled strokes from cuticle to free edge, remembering to cap the edge. Pay attention to any areas that appeared streaky or uneven in the first coat, focusing on achieving uniform coverage. Again, avoid contact with the skin and clean up any spills before curing.
Cure the second layer using the same timing as the first, adhering to your lamp and polish manufacturer’s recommendations. Proper curing is crucial for the polish to harden correctly and achieve its maximum durability. Under-curing can lead to chipping and peeling.
Assess the color saturation after curing. If needed, a third thin coat can be applied, but generally, two coats provide sufficient coverage. Remember, building color gradually is better than applying one thick, problematic layer.
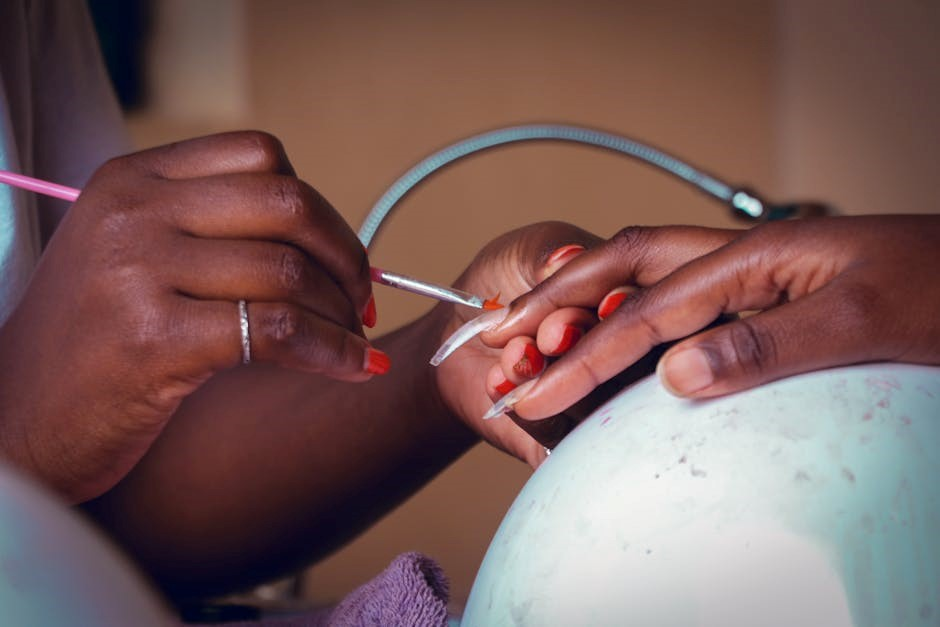
Gel Polish Application Around the Edges
Sealing the edges of the gel polish is vital for preventing lifting and chipping, a common issue with gel manicures. This step creates a barrier, minimizing exposure to water and friction, which can compromise the polish’s adhesion.
Apply a thin bead of gel polish along the side walls and free edge of each nail. Some prefer applying only around the edge, where lifting is most likely, while others coat the entire surface for enhanced adhesion. Consider your experience and desired longevity.
Ensure complete coverage of the edge, but avoid flooding the cuticle area. A precise application prevents the polish from sticking to the skin, which can cause lifting. Use a fine brush for greater control if needed.
Be mindful that edge sealing can make removal more difficult. If you’re new to gel manicures, start with a full application and adjust based on your mani’s longevity. Once satisfied, you can experiment with reducing the amount applied or skipping this step altogether.
Curing the Gel Polish
A UV or LED lamp is essential for properly curing gel polish, initiating a chemical reaction that hardens the polish. Precise curing times are crucial for a durable, long-lasting manicure.
Each layer—base, color, and top coat—requires specific curing durations to ensure complete hardening and optimal adhesion, preventing issues like stickiness or chipping.
The Importance of a UV/LED Lamp
Gel polish fundamentally differs from traditional nail polish due to its chemical composition and curing process. Unlike air-drying polishes, gel polish requires exposure to specific wavelengths of ultraviolet (UV) or light-emitting diode (LED) light to fully harden and achieve its signature durability. This isn’t merely a matter of speeding up drying time; it’s a complete polymerization process.
The lamp’s light activates photoinitiators within the gel polish formula. These photoinitiators trigger a chain reaction, causing the liquid gel monomers to link together and form a solid, cross-linked polymer network. Without this process, the polish would remain sticky and easily damaged, offering none of the benefits associated with gel manicures – namely, chip resistance and longevity.
Choosing the right lamp is crucial. UV lamps emit a broader spectrum of light, while LED lamps utilize a narrower, more focused wavelength. Some gel polishes are formulated to cure under both, while others are specifically designed for one or the other. Always check the polish instructions to ensure compatibility with your lamp. Furthermore, lamp wattage impacts curing time; higher wattage lamps generally cure faster. Investing in a quality lamp ensures consistent and complete curing, maximizing the lifespan and appearance of your gel manicure.
Proper lamp maintenance, including bulb replacement when necessary, is also vital for optimal performance.
Curing Times for Each Layer
Precise curing times are paramount for a successful and long-lasting gel manicure. Under-curing can result in a sticky residue, lifting, or chipping, while over-curing can lead to brittleness and potential damage to the natural nail. Curing times vary depending on the gel polish formula, the lamp’s wattage, and the type of lamp (UV or LED).
Generally, a base coat requires 30-60 seconds under an LED lamp or 2 minutes under a UV lamp. The first layer of color gel typically needs 60 seconds under LED or 2 minutes under UV. The second layer, often applied for full opacity, usually requires the same duration as the first.
Top coat curing times are also crucial; aim for 60-90 seconds with LED or 2-3 minutes with UV. Always refer to the specific instructions provided with your gel polish brand, as these are guidelines and can differ. It’s better to err on the side of slightly longer curing times to ensure complete polymerization.
Consistent curing is key – ensure each nail receives equal exposure to the light source. Rotate your hand during curing if necessary, and avoid moving your hand prematurely.
Finishing Touches & Maintenance
Proper top coat application and curing seal the manicure, adding shine and protection. Regular maintenance, like cuticle oil, extends longevity and prevents chipping.
Safe removal is vital to avoid nail damage; never peel gel polish, always use a proper removal method for healthy, beautiful nails.
Top Coat Application & Curing
Applying a top coat is the crucial final step in a gel manicure, sealing in the color and providing a durable, glossy finish. Ensure complete coverage, paying attention to the free edge of the nail to prevent chipping and lifting. A thin, even layer is preferable to a thick, uneven one, as this will cure more effectively.
Curing the top coat is just as important as curing the base and color coats. The curing time will vary depending on the type of lamp you are using – UV or LED – and the specific top coat formula. Generally, LED lamps require shorter curing times, typically 30-60 seconds, while UV lamps may require 2 minutes.
Always refer to the manufacturer’s instructions for the specific top coat and lamp you are using to ensure proper curing. Under-curing can result in a sticky residue or a manicure that doesn’t last, while over-curing can cause the polish to become brittle and prone to cracking. After curing, some top coats may leave a sticky inhibition layer, which needs to be removed with a gel cleanser.
Consider the finish you desire – glossy, matte, or glitter – when selecting your top coat. Each type will require the same application and curing process, but will deliver a different aesthetic result. A well-applied and properly cured top coat is the key to a long-lasting, professional-looking gel manicure.
Cleaning Sticky Inhibition Layer
After curing the final layer – typically the top coat – you may notice a slightly tacky or sticky residue on the surface of your gel manicure. This is known as the inhibition layer, and it’s a normal byproduct of the gel polymerization process. Don’t worry, it’s not uncured polish!
Removing the inhibition layer is essential for achieving a smooth, glossy, and professional-looking finish. You’ll need a specialized gel cleanser, which is a gentle solvent designed to dissolve the sticky residue without damaging the gel polish. Avoid using regular nail polish remover, as it can cloud the finish.
Saturate a lint-free wipe with the gel cleanser and gently wipe across the entire surface of each nail. Apply light pressure and ensure you cover all areas, including the sidewalls and cuticle area. You may need to use a fresh wipe for each nail to avoid re-depositing the residue.
Buffing is not recommended as it can scratch the gel polish. Once the inhibition layer is removed, your nails should be beautifully smooth and shiny. If any stickiness remains, repeat the cleaning process with a fresh wipe and cleanser.
Gel Manicure Longevity & Avoiding Chipping
A properly applied gel manicure can last for two to three weeks without significant chipping or lifting. However, several factors influence longevity. Thorough nail preparation is paramount; ensuring a clean, dry, and slightly textured nail surface promotes optimal adhesion.
Application technique plays a crucial role. Avoid flooding the cuticles, as this is a common area for lifting. Applying thin, even coats of gel polish, and properly sealing the free edge of the nail with each layer, significantly extends wear time. Consider applying gel around the edges.
Protect your manicure by wearing gloves during household chores and avoiding harsh chemicals. Frequent hand washing and moisturizing can also help maintain nail health and prevent brittleness, reducing the risk of chipping.
If chipping does occur, resist the urge to pick or peel the polish, as this can damage the underlying nail. Instead, schedule a professional removal or carefully follow a safe removal process to minimize nail trauma.
Safe Gel Polish Removal
Removing gel polish incorrectly can cause significant damage to the natural nail. Avoid peeling or picking, as this strips away layers of the nail plate, leading to weakness and thinning. The safest method involves soaking the nails in acetone.
Begin by gently buffing the top coat to break the seal. Then, saturate cotton balls with pure acetone and place them directly on each nail. Wrap each finger tightly with aluminum foil to keep the cotton in place and prevent evaporation.
Allow the acetone to soak for 10-15 minutes, checking periodically to see if the gel is lifting. Gently push off the softened gel with a cuticle pusher; avoid forcing it. Repeat the soaking process if necessary.
After removal, thoroughly wash your hands and apply a nourishing cuticle oil and hand cream to rehydrate the nails and surrounding skin. Give your nails a break from gel polish to allow them to recover and rebuild strength.