Learn to identify and resolve common issues with your GE dryer using this comprehensive troubleshooting guide. Empower yourself to diagnose and fix problems safely and effectively‚ ensuring optimal performance and extending the appliance’s lifespan through proper maintenance and care.
1.1 Understanding Common Issues
Common issues with GE dryers include not starting‚ not heating‚ strange noises‚ or poor ventilation. Identifying these problems early can prevent further damage and ensure efficient operation; Familiarizing yourself with these typical concerns helps in applying the right troubleshooting steps and maintaining your appliance’s performance and longevity effectively.
1.2 Importance of Regular Maintenance
Regular maintenance is crucial for ensuring your GE dryer operates efficiently and safely. Cleaning the lint filter‚ inspecting vents‚ and checking electrical connections can prevent issues like poor heating or unusual noises. Consistent upkeep reduces repair costs‚ extends appliance lifespan‚ and maintains optimal performance for reliable laundry drying results over time.
GE Dryer Not Starting
If your GE dryer won’t start‚ it could be due to a tripped circuit breaker‚ loose power cord‚ or faulty start switch. Begin by checking the power supply and electrical connections to ensure they are secure and functioning properly.
2.1 Checking the Power Supply
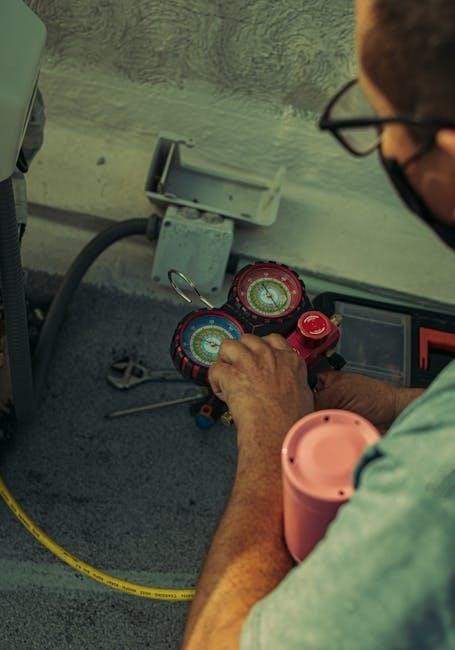
Ensure your GE dryer is properly plugged into a working outlet. Check if the circuit breaker has tripped or a fuse has blown. Verify the outlet voltage using a multimeter to ensure it matches the dryer’s requirements. This step is crucial for diagnosing power-related issues and ensuring safety.
2.2 Verifying Circuit Breaker Settings
Locate your circuit breaker panel and ensure the dryer’s circuit is not tripped. If it is‚ reset it and test the dryer. Verify the breaker is compatible with your dryer’s power requirements. This step helps identify electrical issues preventing the dryer from starting‚ ensuring a safe and proper power connection.
2.3 Testing the Start Switch
To test the start switch‚ access it by removing the dryer’s top or front panel. Use a multimeter to check for continuity when the switch is activated. If no continuity is found‚ replace the faulty switch. This step ensures the dryer receives the proper signal to start operating correctly.
GE Dryer Not Heating

If your GE dryer isn’t heating‚ it could be due to a faulty heating element‚ failed thermal fuse‚ or poor ventilation. These common issues can often be resolved with basic troubleshooting steps to restore proper function and ensure efficient drying.
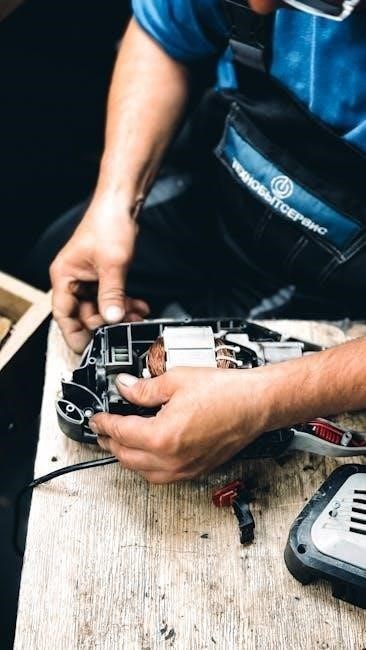
3.1 Identifying the Heating Element Issue
If your GE dryer isn’t heating‚ the heating element is often the culprit. Check for visible damage or wear. Since heating elements can’t be repaired‚ replacement is usually necessary. Refer to your manual for specific instructions or consider consulting a professional for safe and proper replacement.
3.2 Checking Thermal Fuses and Sensors
Inspect the thermal fuses and sensors to ensure they are functioning properly. Use a multimeter to test for continuity. If a fuse is blown or a sensor is faulty‚ replace it to restore heat. Proper operation of these components is crucial for safety and efficient drying performance.
3.3 Ensuring Proper Ventilation
Proper ventilation is essential for your GE dryer’s performance. Regularly clean the exhaust vent to remove lint and debris‚ ensuring airflow isn’t restricted. Check for blockages and verify that the vent is installed correctly. Poor ventilation can lead to overheating‚ reduced efficiency‚ or even safety hazards‚ so maintain it meticulously.
GE Dryer Making Strange Noises
Strange noises from your GE dryer can be frustrating. Inspect drum rollers‚ bearings‚ and belts for wear. Ensure proper installation and maintenance to eliminate rattling or grinding sounds.
4.1 Inspecting Drum Rollers and Bearings
Inspect drum rollers and bearings for wear or damage. Remove the drum to access these parts. Check for excessive noise or movement. Replace worn components to eliminate grinding or rattling sounds. Ensure all parts are securely in place and properly lubricated for smooth operation.
4.2 Checking for Loose Belt or Pulley
Inspect the dryer belt for signs of wear or looseness. Ensure the pulley is securely attached and functioning properly. A loose or damaged belt can cause unusual noises or prevent the drum from spinning. Refer to your manual for belt replacement instructions if necessary.
4.3 Identifying Foreign Objects in the Drum
Check the drum for loose items like coins‚ buttons‚ or debris that may cause noise or damage. Remove any foreign objects found and restart the dryer to ensure smooth operation. Regularly inspecting the drum helps prevent such issues and maintains your dryer’s efficiency.
GE Dryer Not Spinning
If your GE dryer isn’t spinning‚ check the belt for breaks or wear‚ ensure the motor is functioning‚ and verify the control board is sending the correct signals. Proper operation of these components is essential for drum rotation.
5.1 Examining the Belt and Motor
Inspect the dryer belt for cracks or breaks and ensure it’s properly aligned. Check the motor for obstructions or unusual noises. Verify the belt is securely attached to the motor and drum. If damaged‚ replace the belt or motor to restore spinning functionality and ensure smooth operation.
5.2 Checking the Brake System
Inspect the brake system to ensure it releases properly when the dryer starts. A malfunctioning brake can prevent the drum from spinning. Check for wear or damage to the brake components and adjust or replace them as needed to restore normal operation and ensure smooth spinning.
5.3 Ensuring Proper Door Alignment
Verify the dryer door is properly aligned and closes securely. Misalignment can prevent the dryer from starting or spinning. Check the door switch for proper engagement and ensure hinges and strike plates are correctly positioned. Adjust as needed to maintain a tight seal and normal operation.
GE Dryer Diagnostic Codes
Understanding GE dryer diagnostic codes is key to efficient troubleshooting. These codes indicate specific issues‚ guiding you to the root cause and enabling quick‚ effective repairs.
6.1 Understanding Error Code Meanings
GE dryer error codes are designed to help users quickly identify issues. Codes like “Clean Filter” or “SENSE” indicate specific problems‚ such as clogged vents or sensor malfunctions. Understanding these codes enables precise troubleshooting‚ saving time and ensuring efficient repairs. Always refer to your manual for code meanings and solutions.
6;2 Resetting the Dryer After an Error
Resetting your GE dryer after an error can often resolve issues. Unplug the dryer‚ wait 30 seconds‚ then plug it back in. If the problem persists‚ check your circuit breaker or consult the manual for model-specific reset instructions to restore functionality and clear error codes effectively.
6.3 Common Codes and Their Solutions
Common GE dryer error codes include “Clean Filter” and “Sense‚” indicating issues like blocked ventilation or sensor malfunctions. Resetting the dryer or cleaning the filter often resolves these codes. For persistent errors‚ refer to your manual or contact a professional to address underlying problems effectively and restore proper function.
GE Dryer Electrical Issues
Address common electrical problems like power supply issues‚ tripped breakers‚ or faulty wiring. Ensure the dryer is properly plugged in and check the circuit breaker for tripped switches to restore operation quickly and safely.
7.1 Checking Power Cord Connections
Ensure the GE dryer’s power cord is securely plugged into a functioning outlet. Check for visible damage‚ frays‚ or loose connections. Verify the outlet has power by testing it with another appliance to confirm electrical supply issues aren’t the root cause of the problem.
7.2 Testing Outlet Voltage
Use a voltage tester or multimeter to check the outlet’s voltage.
Ensure it matches your dryer’s required voltage‚ typically 240V for electric dryers.
If the reading is incorrect‚ consult a licensed electrician.
Always prioritize safety when handling electrical components.
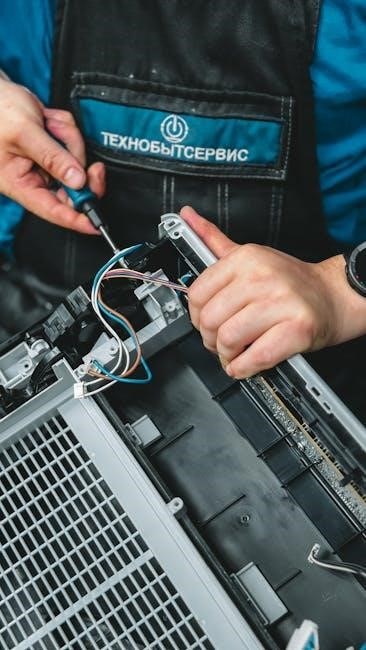
7.3 Inspecting for Faulty Wiring
Check the dryer’s power cord and internal wiring for visible damage or wear.
Ensure all connections are secure and not loose.
If you find any damaged wires‚ replace them immediately.
For complex wiring issues‚ consult a licensed electrician to avoid safety risks.
GE Dryer Venting and Airflow Problems
Address venting issues by cleaning the exhaust vent regularly and ensuring proper installation to maintain airflow‚ which is crucial for efficient drying and safety.
8.1 Cleaning the Exhaust Vent
Regularly clean the exhaust vent to ensure proper airflow and prevent overheating. Detach the vent from the dryer‚ use a brush or vacuum to remove lint and debris‚ and check for external blockages. Clogged vents can cause poor performance‚ increased energy bills‚ and safety hazards. Clean annually or as needed.

8.2 Ensuring Proper Vent Installation
Ensure your GE dryer’s vent is installed correctly using rigid metal ducts‚ avoiding flexible plastic. Verify the vent is securely connected to both the dryer and exterior vent. Check for proper alignment and ensure the vent is unobstructed to maintain efficient airflow and safety. Inspect annually to prevent blockages and damage.
8.3 Checking for Blockages
Regularly inspect the dryer vent system for obstructions like lint‚ debris‚ or pests. Detach the vent from the dryer and outdoor exhaust to check for blockages. Use a brush or vacuum to clean out any buildup; Ensure all vent components are clear to maintain proper airflow and prevent efficiency issues.
GE Dryer Moisture and Humidity Issues
Excess moisture can reduce drying efficiency and increase energy use. Ensure proper ventilation and use moisture-sensing features to optimize performance and prevent humidity buildup in the laundry area.
9.1 Managing Laundry Room Humidity
Excess humidity in the laundry room can reduce drying efficiency. Use a dehumidifier‚ ensure proper ventilation‚ and keep the area well-ventilated during and after drying cycles to maintain optimal conditions. This helps prevent moisture buildup‚ ensuring your GE dryer performs effectively and prolongs its lifespan.
9.2 Ensuring Proper Ventilation
Proper ventilation is crucial for your GE dryer’s performance. Regularly inspect and clean the exhaust vent to remove lint and debris. Use rigid ducts to ensure airflow isn’t restricted. Also‚ verify that the outdoor vent opening isn’t blocked‚ as this can cause moisture buildup and reduce drying efficiency.
9.3 Avoiding Overcrowded Loads
Overcrowded loads can hinder proper airflow and heat distribution‚ leading to poor drying performance and increased wear on your GE dryer. Always check the load size and ensure clothes have enough space to move freely. Proper spacing ensures efficient operation and helps prevent potential issues.
GE Dryer Filter Maintenance
Regular maintenance of your GE dryer’s filter ensures optimal performance. Clean the lint filter after each use for efficient airflow; Check the moisture sensor and ensure proper fit to prevent issues.
10.1 Cleaning the Lint Filter
Cleaning the lint filter after each use is essential for maintaining your GE dryer’s performance. Remove the filter‚ empty accumulated lint‚ and inspect for tears. Check the filter slot for blockages and ensure it is securely reattached to guarantee proper airflow and efficient drying.
10.2 Checking the Moisture Sensor
Regularly inspect and clean the moisture sensor to ensure accurate drying cycles. Locate the sensor bars‚ typically inside the drum‚ and gently wipe them with a soft cloth or brush to remove lint buildup. Ensure proper fit and check for damage‚ as malfunctioning sensors can lead to inefficient drying performance.
10.3 Ensuring Filter Proper Fit
Ensure the lint filter is installed correctly and securely after cleaning. Proper alignment prevents poor airflow‚ which can lead to inefficient drying or increased energy use. Always check that the filter is snugly fitted and latched to maintain optimal performance and safety during dryer operation.
GE Dryer Advanced Troubleshooting
Explore advanced troubleshooting techniques for your GE dryer‚ including diagnostic tools‚ component testing‚ and referring to the service manual for complex repairs and maintenance.
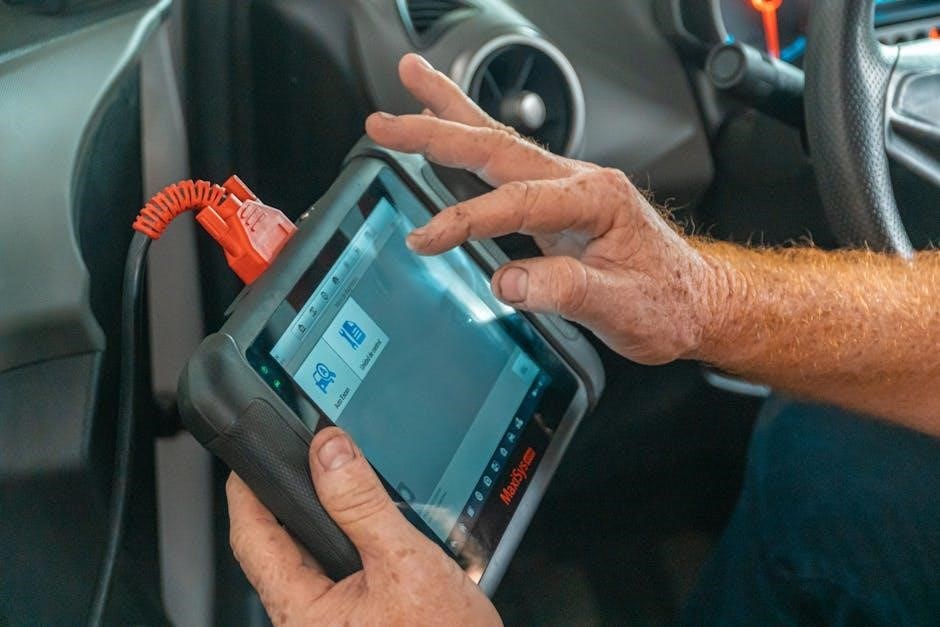
11.1 Using Diagnostic Tools
Utilize diagnostic tools to identify complex issues in your GE dryer. Error codes‚ sensor tests‚ and multimeters can help pinpoint faults in electrical components and heating elements. Advanced tools enable precise troubleshooting‚ ensuring accurate diagnoses and effective repairs‚ while referring to the service manual provides detailed guidance for each diagnostic step.
11.2 Testing Electrical Components
Test electrical components like heating elements‚ thermal fuses‚ and sensors using a multimeter to ensure proper function. Always unplug the dryer before testing. Identify faulty parts by comparing readings to manufacturer specifications. This step-by-step process helps pinpoint electrical failures‚ enabling precise repairs and restoring your dryer’s performance effectively and safely.
11.3 Referring to the Service Manual
Consult your GE dryer’s service manual for detailed diagrams and troubleshooting procedures. It provides model-specific guidance‚ diagnostic steps‚ and repair instructions. Referencing the manual ensures accurate identification of faulty components and proper repair methods‚ helping you resolve issues efficiently and safely.
Mastering GE dryer troubleshooting empowers you to address issues confidently. Regular maintenance and proper care extend its lifespan. While some problems may require professional expertise‚ this guide equips you with essential knowledge to handle common issues effectively.
12;1 Summary of Key Troubleshooting Steps
Start by checking the power supply‚ circuit breakers‚ and outlet voltage. Ensure proper ventilation and clean lint filters. Inspect belts‚ rollers‚ and heating elements for damage. Address error codes promptly and reset the dryer if necessary. Regular maintenance and timely repairs will ensure your GE dryer runs efficiently and lasts longer.
12.2 When to Call a Professional
If issues persist after basic troubleshooting or involve internal components like the control board or motor‚ consult a professional. Seek expert help for recurring problems‚ advanced diagnostics requiring specialized tools‚ or when repairs might void the warranty. Professionals ensure safety and proper repairs for complex dryer issues.
12.3 Importance of Preventive Maintenance
Regular maintenance is key to preventing GE dryer issues. Cleaning lint filters‚ ensuring proper ventilation‚ and inspecting electrical connections can avoid major breakdowns. Scheduling routine checks and adhering to manufacturer guidelines helps maintain efficiency‚ reduces repair costs‚ and extends the appliance’s lifespan‚ ensuring reliable performance and safety for years to come.